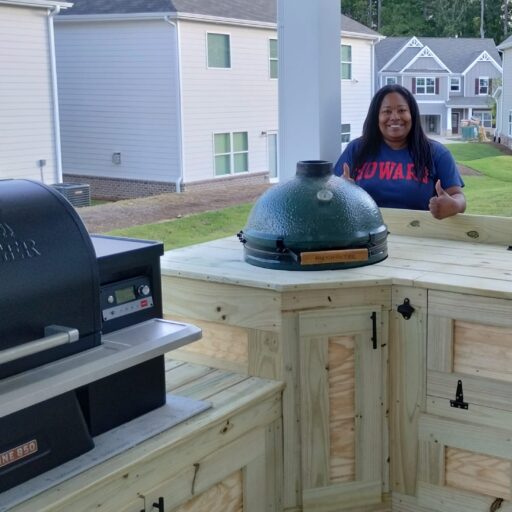
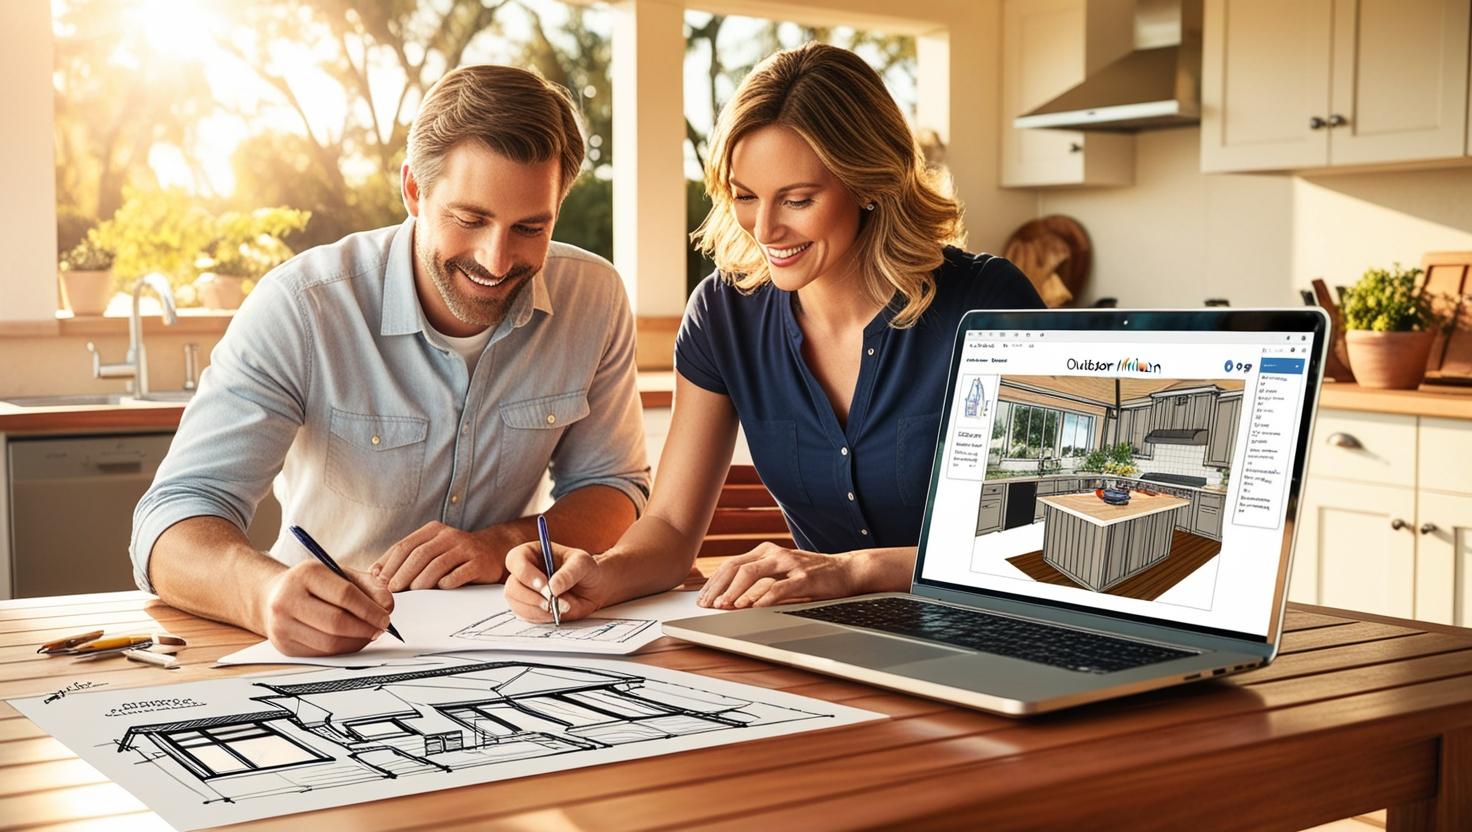
An outdoor kitchen is more than just a space for cooking—it’s a hub for entertainment, relaxation, and enjoying the outdoors with family and friends. Designing the perfect outdoor kitchen requires careful planning to balance aesthetics, functionality, and comfort. Whether you prefer the simplicity of pen and paper or the precision of modern software, here’s a guide to the various ways you can design your dream outdoor kitchen.
1. Pen and Paper Design: The Classic Approach
Sometimes, the best way to start your design is the old-fashioned way—pen and paper. This method allows for creativity and quick brainstorming without the need for technology.
Advantages:
- Simplicity: All you need is graph paper, a ruler, and a pencil.
- Flexibility: You can quickly sketch ideas and make changes as you go.
- Visualization: Drawing by hand helps you conceptualize the layout and flow of your kitchen.
Steps for Pen and Paper Design:
- Measure Your Space: Start by accurately measuring your outdoor area. Include walls, existing structures, and potential obstacles like trees or slopes.
- Sketch the Layout: Draw the outline of your space to scale on graph paper. Each square can represent a specific measurement (e.g., 1 square = 1 foot).
- Plan Zones: Divide the kitchen into zones: cooking, prep, serving, and dining. Place essential components like grills, sinks, and storage accordingly.
- Add Details: Include counters, seating, lighting, and decorative elements to bring your vision to life.
Limitations:
- Lack of precision compared to digital tools.
- Time-consuming if you need to make multiple revisions or detailed plans.
2. Using Software for Outdoor Kitchen Design
Design software has revolutionized outdoor kitchen planning, offering precision and visualization that pen and paper can’t match. From basic tools to professional-grade programs, there’s something for every skill level.
Advantages:
- Precision: Measurements are exact, reducing the chance of costly mistakes.
- Visualization: Many programs offer 3D rendering to help you see how your kitchen will look.
- Customization: Add details like materials, colors, and textures to match your vision.
Popular Software Options:
- SketchUp:
- A user-friendly 3D design tool ideal for outdoor kitchens.
- Offers a free version with essential features and a paid version for advanced users.
- Great for visualizing complex layouts and material choices.
- AutoCAD:
- Professional-grade design software for precise measurements and technical plans.
- Best suited for contractors or those with experience in design.
- RoomSketcher:
- Easy-to-use software with 3D and 2D design capabilities.
- Includes a vast library of outdoor kitchen components.
- Proprietary Tools from Appliance Brands:
- Many brands like Weber or Traeger offer online design tools to help plan outdoor kitchens around their products.
Limitations:
- Some programs have a steep learning curve.
- Professional-grade tools can be expensive.
3. Getting Accurate Measurements
Accurate measurements are the backbone of any successful outdoor kitchen design. Missteps here can lead to costly mistakes and inefficiencies.
Essential Steps for Accurate Measurements:
- Measure Your Space:
- Use a measuring tape or laser measuring tool to determine the dimensions of your outdoor area.
- Note any irregularities, such as uneven terrain or obstructions.
- Account for Appliances:
- Measure the footprint of grills, smokers, sinks, and refrigerators. Include clearance for ventilation and maintenance.
- Check manufacturer specifications for installation requirements.
- Plan for Utilities:
- Identify where gas, water, and electrical connections are or need to be installed.
- Factor in additional space for plumbing, gas lines, or electrical wiring.
- Leave Buffer Space:
- Allow for adequate walking paths and counter space. A general rule is to leave at least 3 feet of clearance between major appliances.
- Check Slope and Drainage:
- If your outdoor kitchen will have a sink or other water features, ensure proper drainage by accounting for the slope of your patio or yard.
4. Additional Design Considerations
Materials and Durability:
- Choose materials that can withstand outdoor elements, such as stainless steel for appliances, granite for countertops, and treated wood or composite for cabinets.
Functionality and Flow:
- Ensure a logical flow between cooking, prepping, and serving areas.
- Place your grill downwind to prevent smoke from blowing into seating areas.
Aesthetics:
- Match your outdoor kitchen’s style with your home’s architecture and landscaping.
- Incorporate decorative elements like stone veneers, pergolas, or ambient lighting.
Budget:
- Set a clear budget before you begin. High-end appliances and materials can quickly add up, so prioritize must-haves over extras.
5. Hiring Professionals
If you’re not confident in your design skills or want a polished outcome, consider hiring a professional designer. They can help with:
- Creating detailed plans based on your preferences.
- Navigating building codes and permits.
- Ensuring all components are properly installed.
Conclusion
Designing your outdoor kitchen can be a rewarding experience, whether you prefer the hands-on approach of pen and paper or the precision of software tools. By taking accurate measurements, planning functional zones, and choosing the right materials, you’ll create a space that’s both beautiful and practical. Whether you DIY or hire a professional, the result will be a backyard oasis tailored to your cooking and entertaining needs.


Leave a Reply
You must be logged in to post a comment.